

How to cut a tree down
The Steps Arborists Follow to Remove a Tree
We’ve all seen the “tree cutting fails” on youtube (if you haven’t, pause here and go watch), where some pert-time tree cutter gets in over his head and ends up smashing a house with a tree. Watching these videos is a reminder that removing a tree is a complex task that requires skill, precision, and careful planning. The careful planning is what most of these part-time hacks miss.
Certified Arborists are trained professionals who follow specific steps to ensure the process is safe and efficient. Whether dealing with a hazardous tree or clearing space for a new project, here is an overview of the steps involved in professional tree removal.
1. Assessing the Tree and Site
The first step is a thorough evaluation of the tree and its surroundings. It’s important to consider:
The tree’s size, species, and health. Stability of the wood (rot, healthy, frozen, etc.)
Proximity to structures, power lines, underground utilities, or other pedestrians, .
The best techniques and tools for the job.
This assessment ensures the removal is planned with safety and efficiency in mind.
2. Obtaining Permits and Permissions
In some areas, removing a tree requires permits or approval from local authorities. This is true in Sisters, Sunriver, the historic zone in Bend, and certain HOA’s in Central Oregon. Arborists can work with the home owner to ensure compliance with regulations, saving property owners time and potential fines.
3. Preparing for the Project
Before any cutting begins, we have to show up prepared. Before arriving at your property, we get ready by:
Daily maintenance of equipment: Chippers, stump grinders, skid-steers, chainsaws and tree climbing gear all require daily maintenance/inspections for safety and efficiency.
Fuel. It takes a lot of fuel to make a tree disappear. The crew stops at the fuel station multiple times a week to fill up all the trucks and equipment.
Dump any woodchips or logs in the truck from the previous days project. We need the trucks empty for any large tree removal.
Establishing a safety perimeter to protect people and property.
Identifying potential hazards and planning escape routes/emergency access.
Removing obstacles like vehicles, furniture, or other objects near the tree.
4. Choosing a Removal Method
The method of removal depends on the tree’s location and condition. This is usually specified at the estimate, but conditions may change at the job-site. Ultimately, the crew will decide what is safe and efficient when they show up. Options include:
Felling: Cutting the tree at the base and letting it fall in a controlled direction. This may involve installing a “pull line” to pull a tree over with a skid-steer or other heavy equipment.
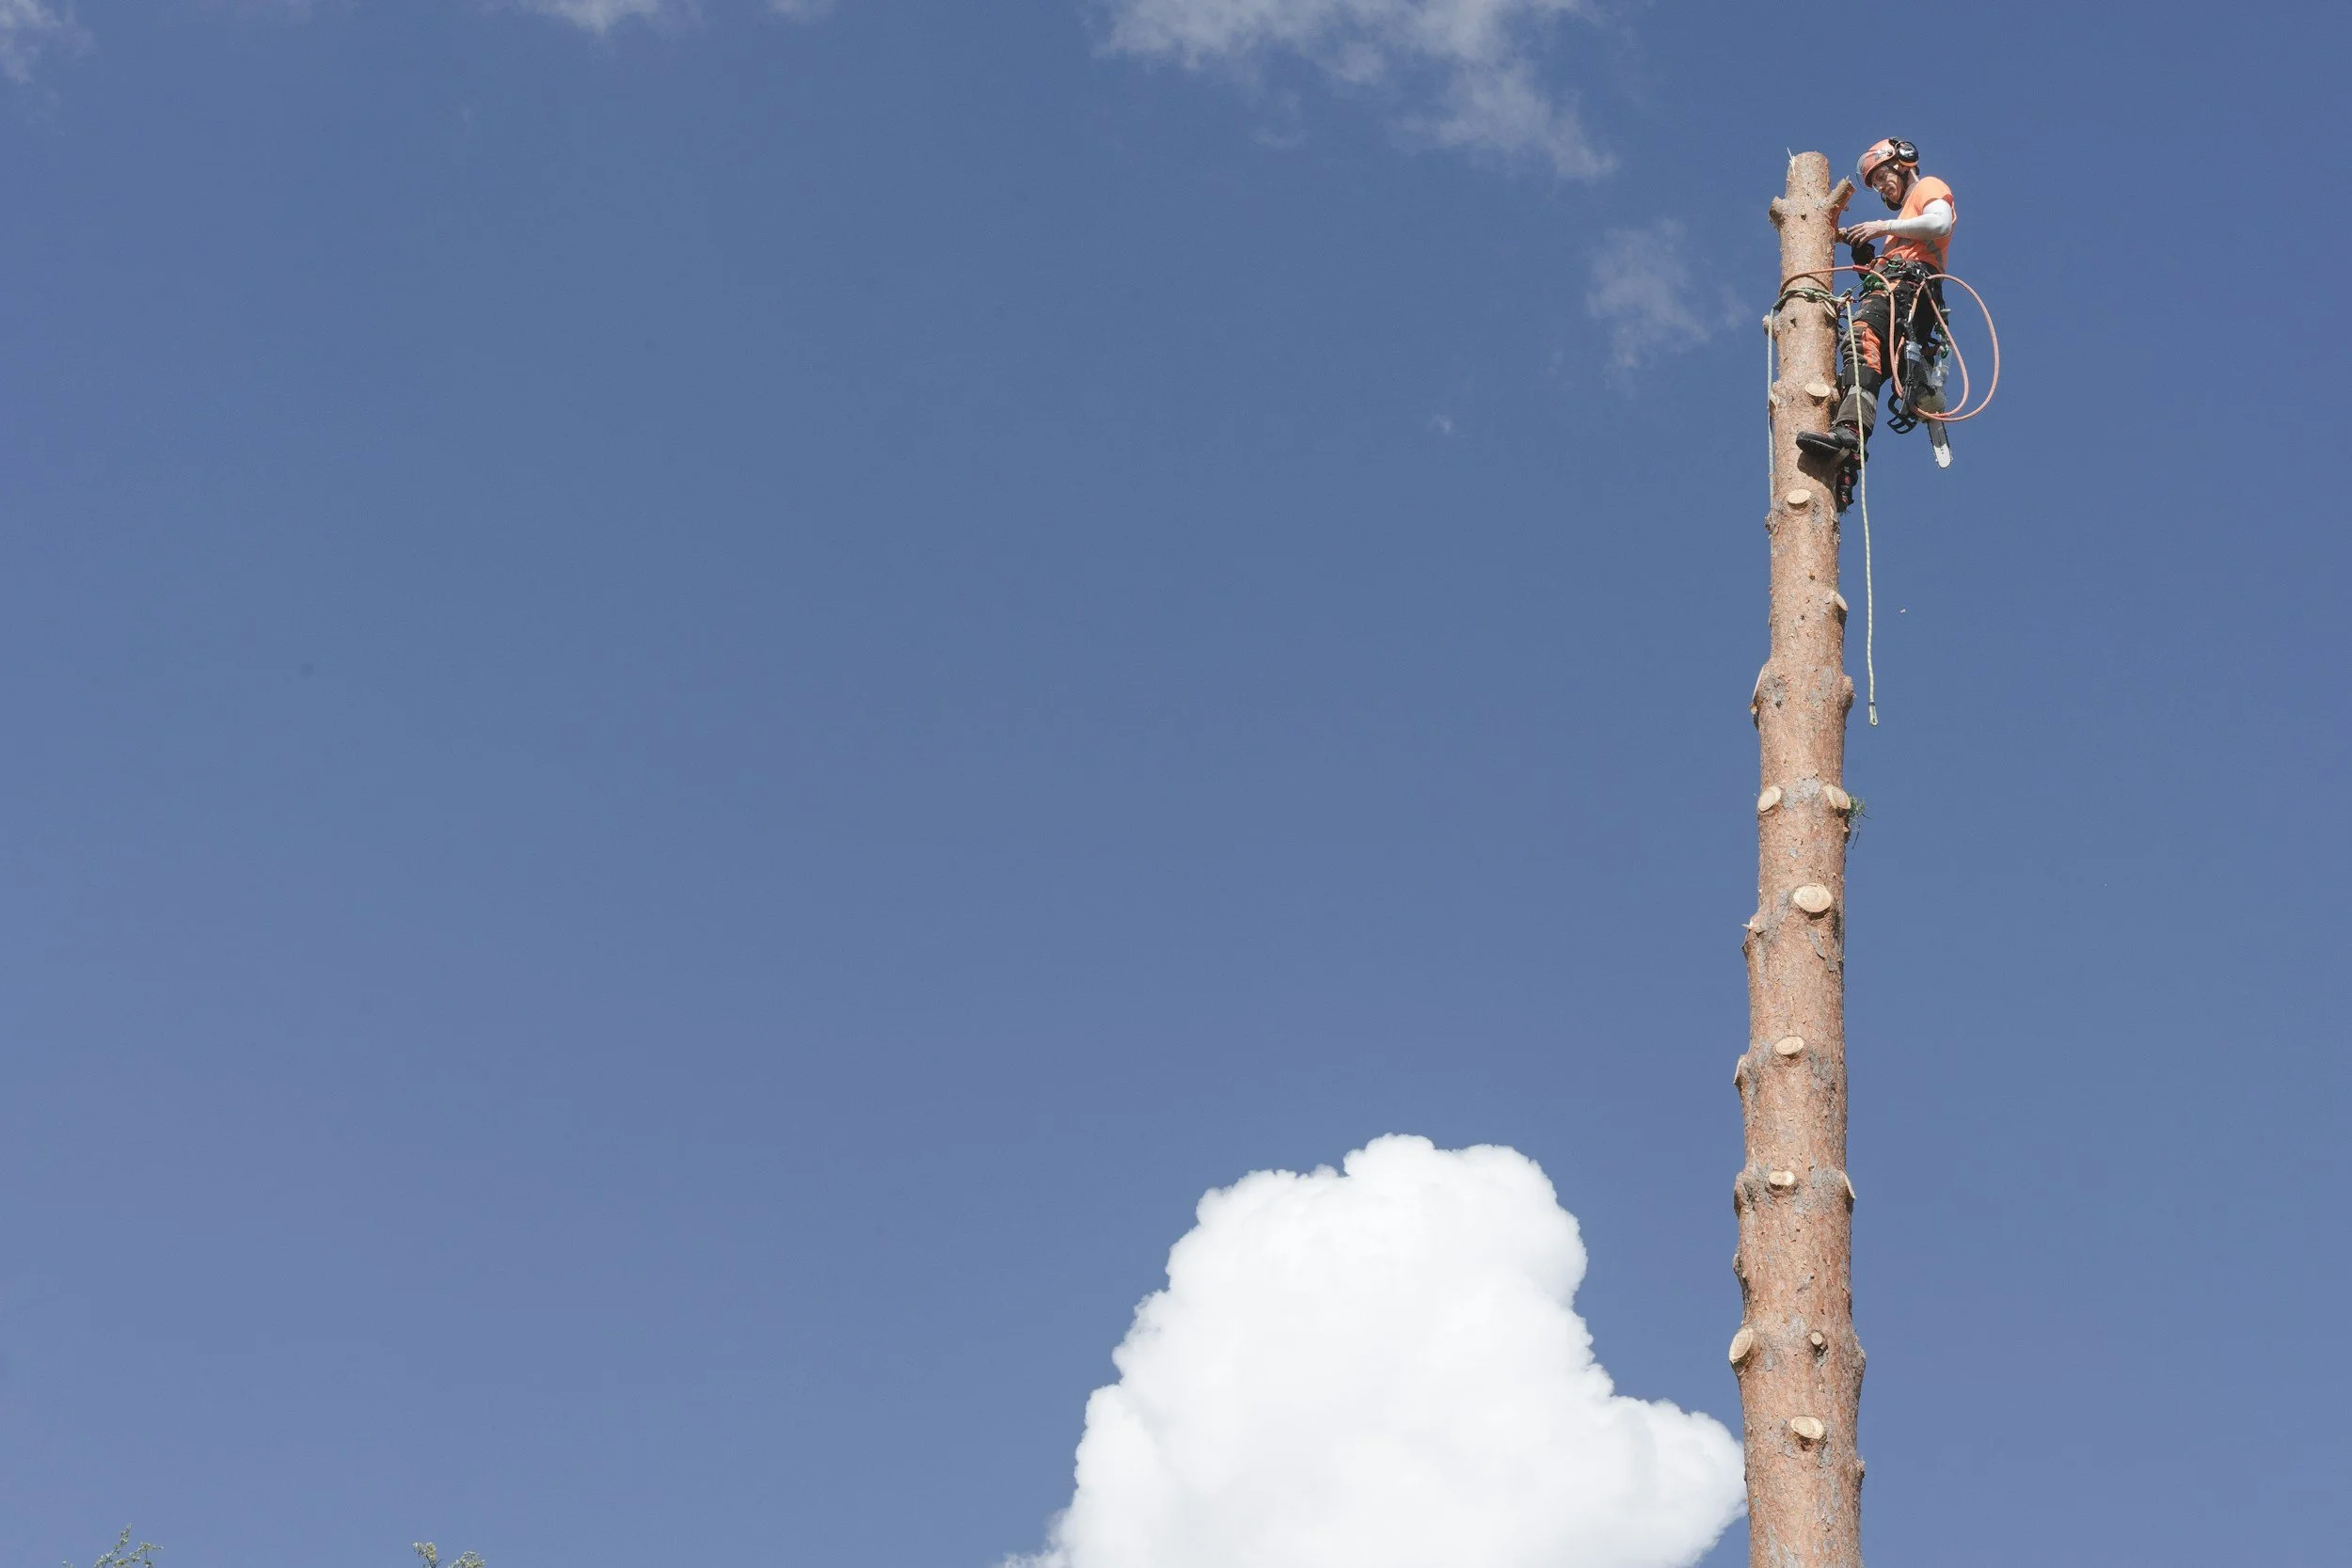
Sectional Dismantling: A climbing arborist will cutting the tree into sections from the top down. When we have a tree in a tight space, we’ll use this so there is no damage to property.
Crane-Assisted Removal: Using a crane to lift sections of the tree away from difficult or hazardous locations. Cranes are expensive, but this is the most efficient option for huge trees in tight spaces since cranes can move huge pieces at a time.
5. Climbing and Rigging
For sectional dismantling, arborists may climb the tree using ropes and harnesses or work from a bucket truck. We can set up rigging systems to lower branches and trunk sections safely to the ground without any impact.
6. Cutting the Tree
Arborists make precise cuts using chainsaws and other tools. The process begins with removing smaller branches and progresses to larger limbs and the main trunk. Each cut is carefully planned to maintain control over falling pieces.
7. Removing the Stump
Once the tree is removed, the stump can be left as is, ground down to below ground level, or completely removed depending on the property owner’s preference.
8. Site Cleanup
After the tree is removed, arborists clean up the site by:
Chipping branches into mulch (this often happens as the pieces come down).
Cutting larger sections into firewood, if the homeowner requested it at the estimate.
Raking up, and hauling away other debris like pine needles and cones that fell out of the tree during the removal.\
Raking out any machine tracks left by the skid-steer.
Final leaf blower, to blow around any fine particles of saw-dust or dirt that got disturbed while we were working.
Replace any patio furniture or yard decorations/lights that were moved during the job
9. Final Inspection
The last step is a final walkthrough to ensure the site is safe, clean, and meets the property owner’s expectations.
When Homeowners Can Handle Tree Removal Themselves
While professional arborists are best equipped to handle tree removals, there are instances where homeowners can safely take on the task themselves. These include:
Small Trees: Trees that are less than 15 feet tall and not near structures or power lines.
Dead or Fallen Trees: Trees that are already on the ground or clearly dead, provided they pose no immediate hazards.
Open Areas: Trees in wide, open spaces where there is minimal risk of property damage or injury.
Before attempting a DIY tree removal, homeowners should ensure they have the proper tools, safety gear, and an understanding of safe cutting techniques. If there is any uncertainty, it’s best to consult a professional.
When To Trust the Professionals
Tree removal is a job best left to certified arborists. At Spar Tree LLC, our team prioritizes safety, professionalism, and care for the environment. If you have a tree that needs to be removed, contact us today for a consultation. Let us handle the heavy lifting while you enjoy peace of mind.